
Presentation how to: How to make your presentations pop with easy, actionable and impactful suggestions to take your presentations to the next level.
Presenting is stressful. Having a solid presentation for support will engage your audience and take some of the fear out. Whether you’re a born orator or the thought of all eyes on you gives you sweaty hands and knocking knees, here are a few tried and true techniques to build a presentation that pops.
We’ve compiled a list of tools and tips to help you design a killer presentation and that hopefully makes the idea of presenting a little less nerve-wracking.
1. Map it out
A presentation is a story. Even if your topic seems boring on the surface, it’s about taking your audience on a journey and changing their perspective. Take the time to plan out your talking points and the slides that will support them and you’re well on your way to shaping your narrative.
Effective planning allows you to evaluate your content and consider how things should be presented visually. You may think that slides should always have text and bullet points. However, a key point can have a greater impact with just an image or graphic that conveys your message.
2. Keep it clear and concise
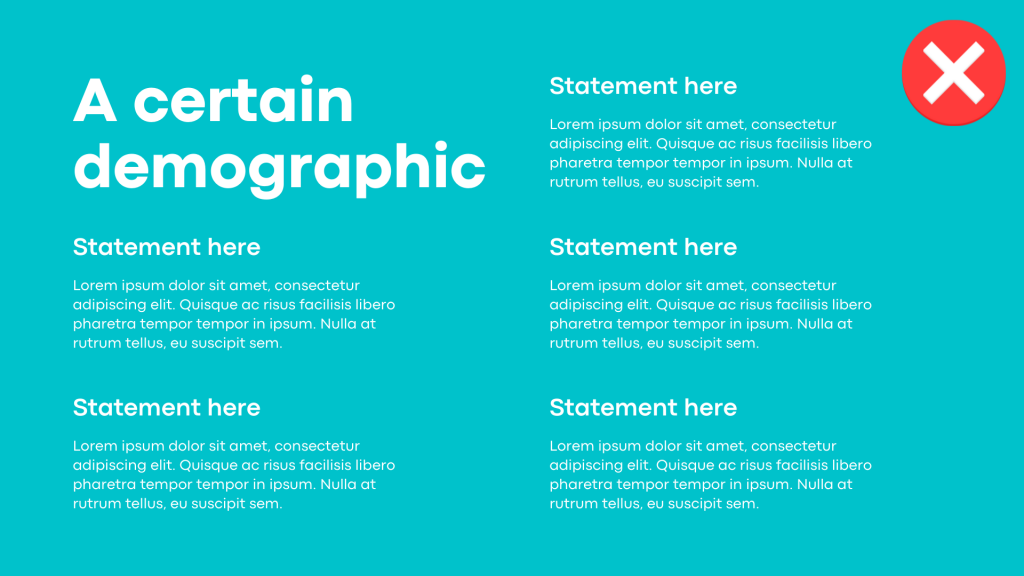
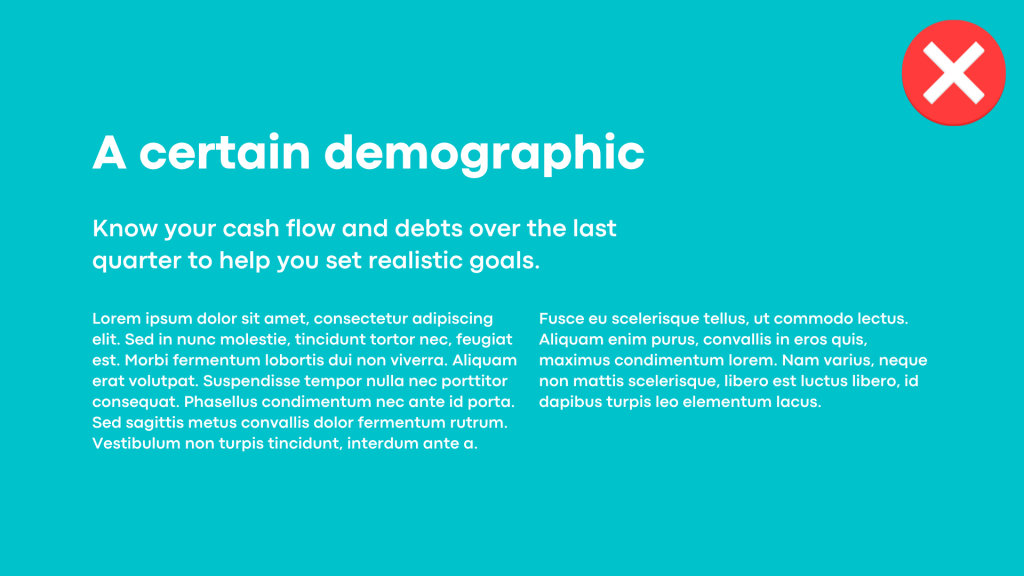
We’ve all seen presentations where the presenter reads from a series of text-heavy slides. Don’t be that presenter. You want people listening and absorbing, not reading and trying not to nod off.
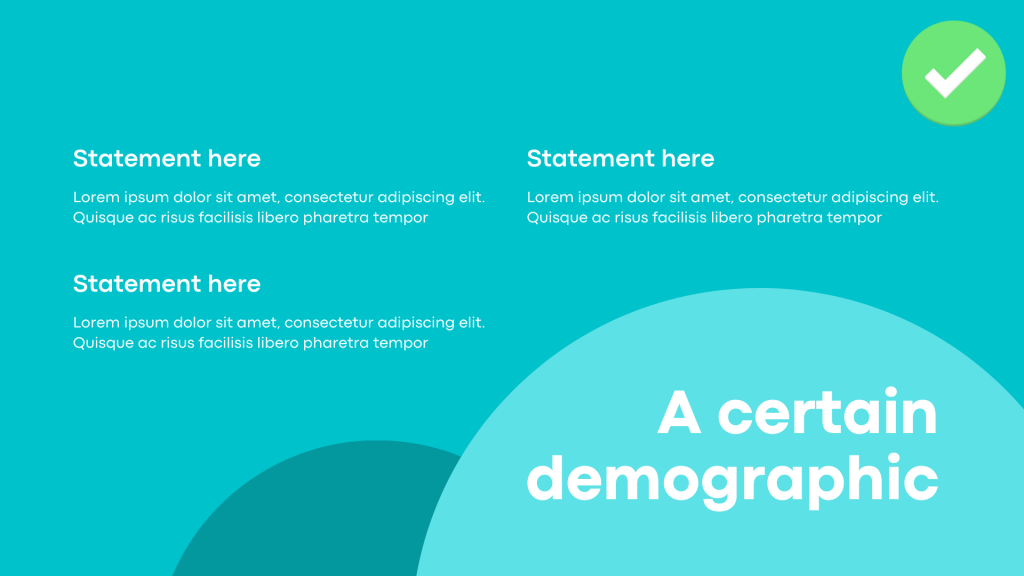
Trim the text, save the presentation; when you need text, keep it short and limit yourself to three or four impactful points per slide.
3. Make it stand out
Clean, readable fonts and strong colors will level up your presentation. For fonts, choose clarity and readability over fun or whimsy. Choosing a larger point size for text helps both readability and impact. Choose a font color that contrasts with your background for the same reason.
If you are adding text over an image or a texture, consider using a box over the image to house the text. You can also use different font weights and colors to make your point. Having a big bold title with a word highlighted in another color adds impact and draws attention to your key message.


4. A picture is worth a thousand words
Images are your best friend in a presentation. Using big beautiful photography instantly gives your presentation a leg up.
Choose high-resolution images that relate to your topic and help you make your point. Avoid using too many images (or creating collages) on a slide; wherever possible, look for one large, impactful picture instead.


Search free graphic and photo sites for something that fits. Here are a few great, free photo and graphic sites to help you find the perfect pic. Make room for a photo credit or include photo credits at the end of your presentation.
5. Visualize your data points
Use graphs, charts and bold number treatments to really drive the point home for your class and instructor alike. Help the audience to visualize the data and understand a complicated idea quickly.
You want to avoid data overload in the same way you want to avoid text overload. Give each key data point its own slide. Keep it clean and to the point.

6. Animate intentionally
Use animations intentionally for impact. For example, to reveal a key finding or to encourage audience participation. Don’t go crazy with slide-ins, reveals, fades etc. Less is more. You want your audience engaged, not battling motion sickness.
7. Go forth and present!
With these tips and techniques to make a presentation that pops, you’re ready to start building. Here are some useful tools to support you as you prepare to wow your audience with your newfound presentation chops.
-1.png?length=710&name=Blog%20banners%20(5)-1.png)
-1.png?length=710&name=Blog%20banners%20(4)-1.png)
-1.png?length=710&name=Blog%20banners%20(7)-1.png)